How to Change and Wire a Light Switch: Master Electrical Safety and Get the Job Done Right
Wiring or replacing a light switch isn't as tricky as it seems. With clear steps and a focus on safety, you can handle this task yourself. Whether you're upgrading an old switch or installing a new one, I'll walk you through it so you can do it safely and efficiently.
What Are the Basic Steps to Change a Switch?
Changing a light switch starts with a few simple steps. First, you’ll turn off the power to the switch to keep things safe. Then, gather your tools and remove the old switch. After that, you’ll connect the new one, secure the wires, and test it to make sure it works. With just a bit of care, you can replace a switch in about 20 minutes.
How to Safely Turn Off the Power?
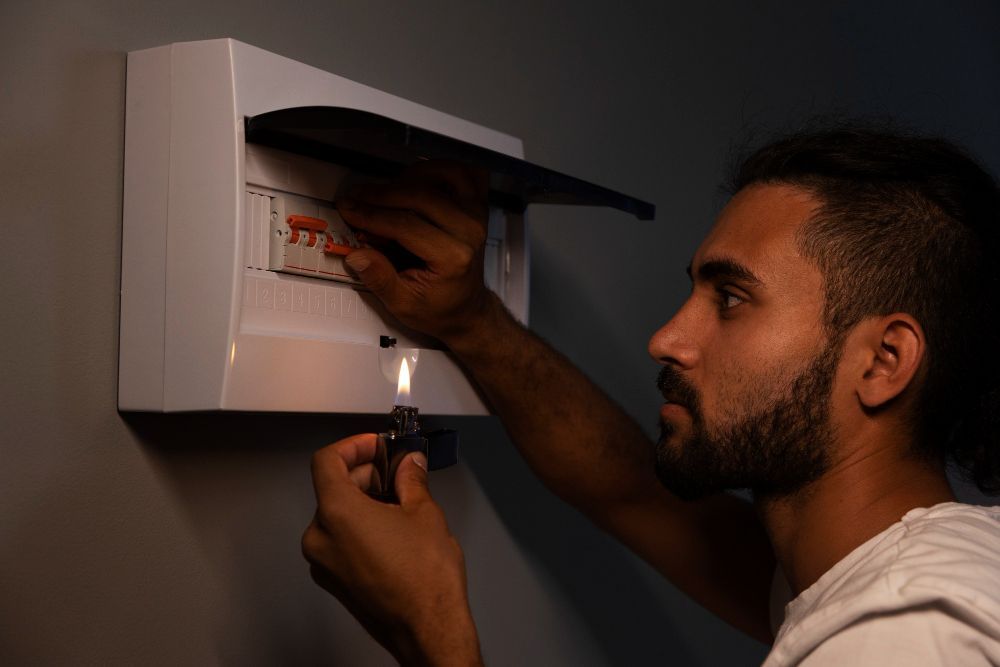
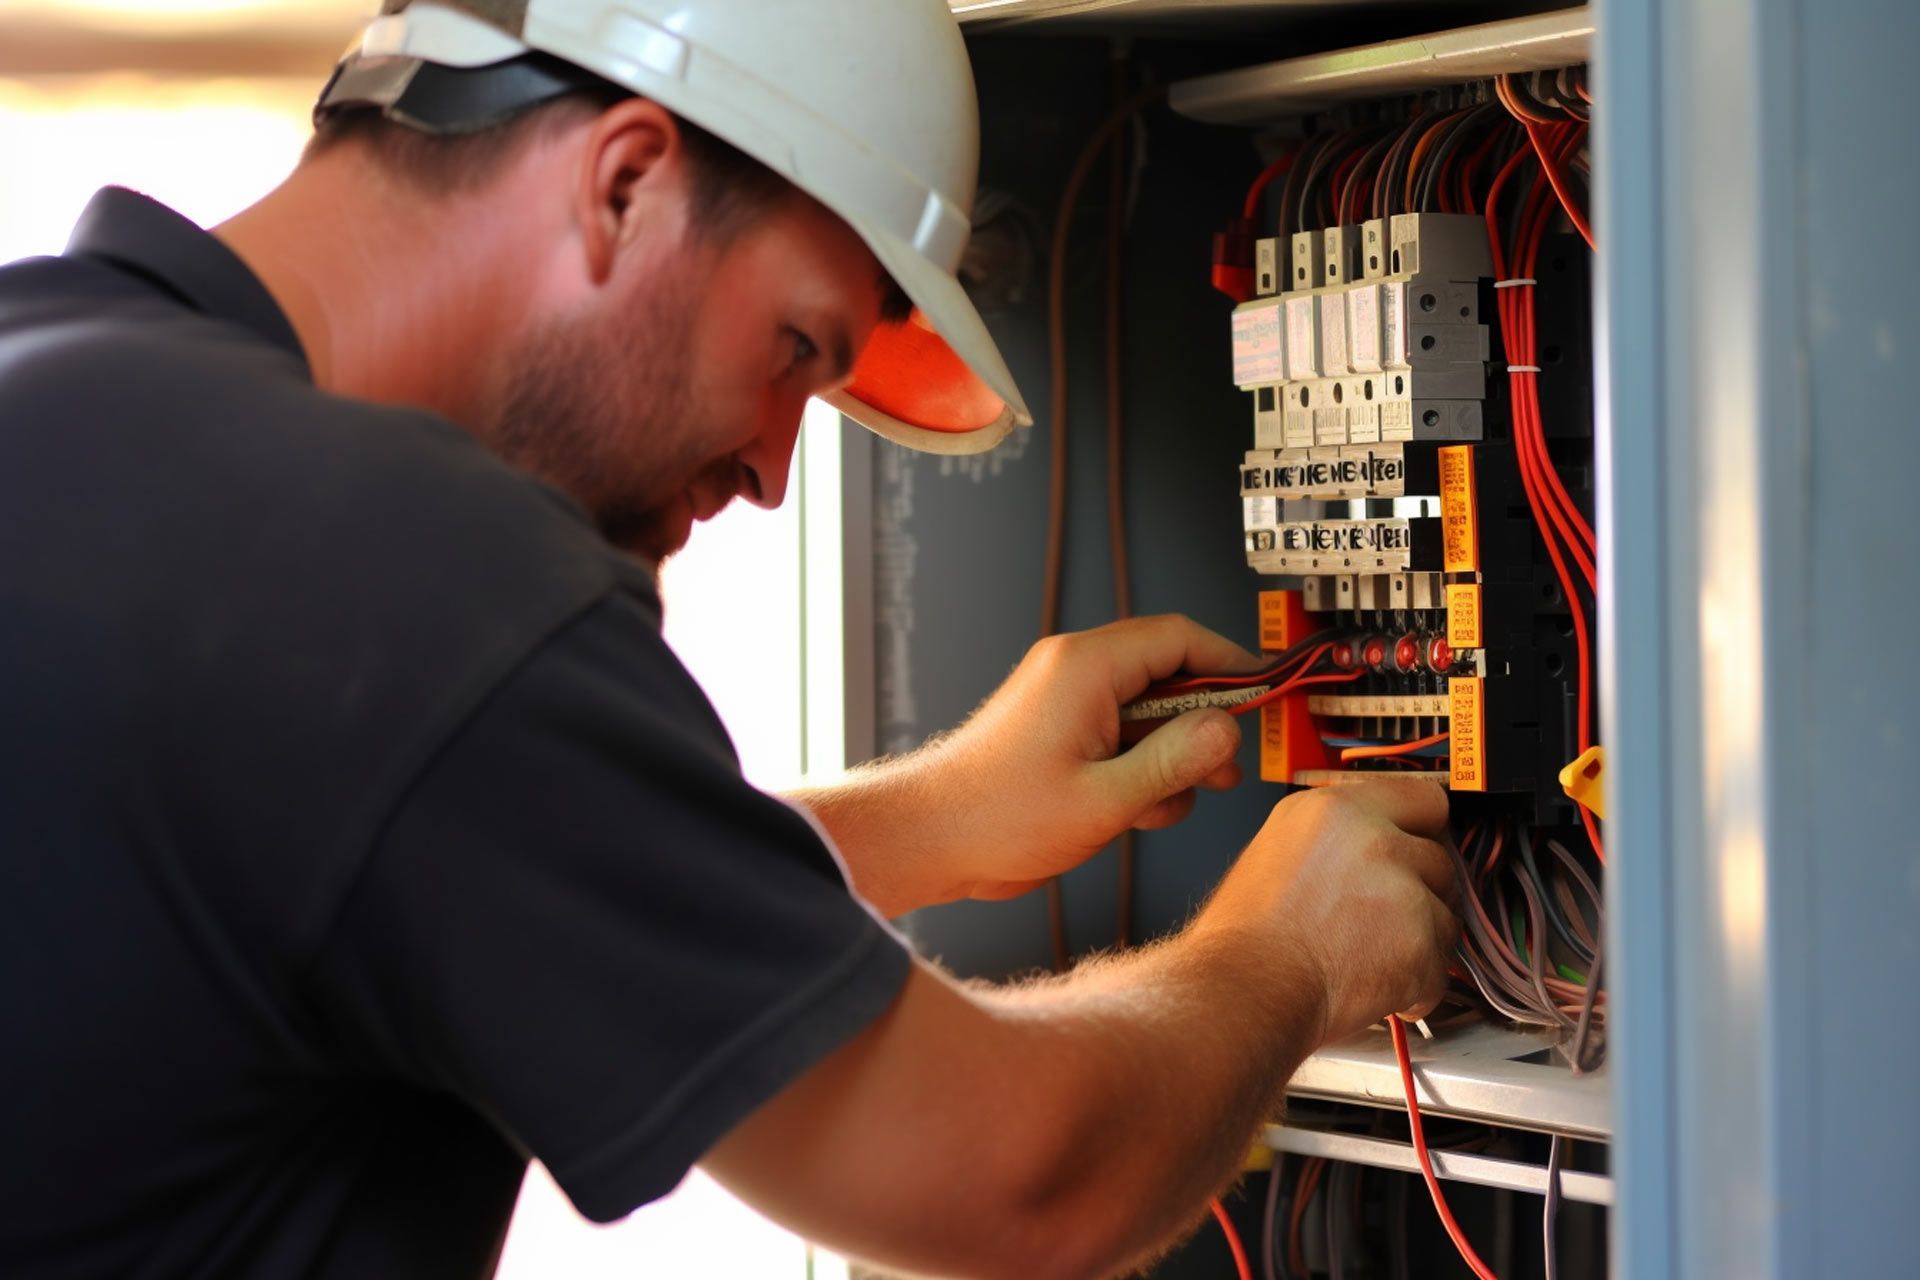
Before you touch any wires, you need to turn off the power at the breaker box. Here’s how:
- Locate the Circuit Breaker: Find the circuit breaker panel, usually in a garage, basement, or utility room.
- Identify the Correct Switch: Look for the breaker controlling the light switch you’re working on. If you're not sure which one, turn off the main power switch to be extra safe.
- Test for Power: Once the breaker is off, use a voltage tester at the switch to double-check that no electricity is flowing to the wires.
This step is crucial for your safety. Never skip it.
Which Tools Do You Need to Wire a Light Switch?
To wire or replace a light switch, you'll need a few basic tools. Here’s a quick list to get you ready:
- Flathead and Phillips Screwdrivers – For removing the switch plate and screws.
- Wire Strippers – To strip the insulation from the wire ends.
- Voltage Tester – To make sure the power is off before touching any wires.
- Needle-nose Pliers – To bend wires or twist them together.
- Wire Connectors – Also called wire nuts, these secure the wire connections.
- Electrical Tape –
For added safety when covering connections.
Having these tools on hand will make the job go smoothly.
How to Remove the Old Switch?
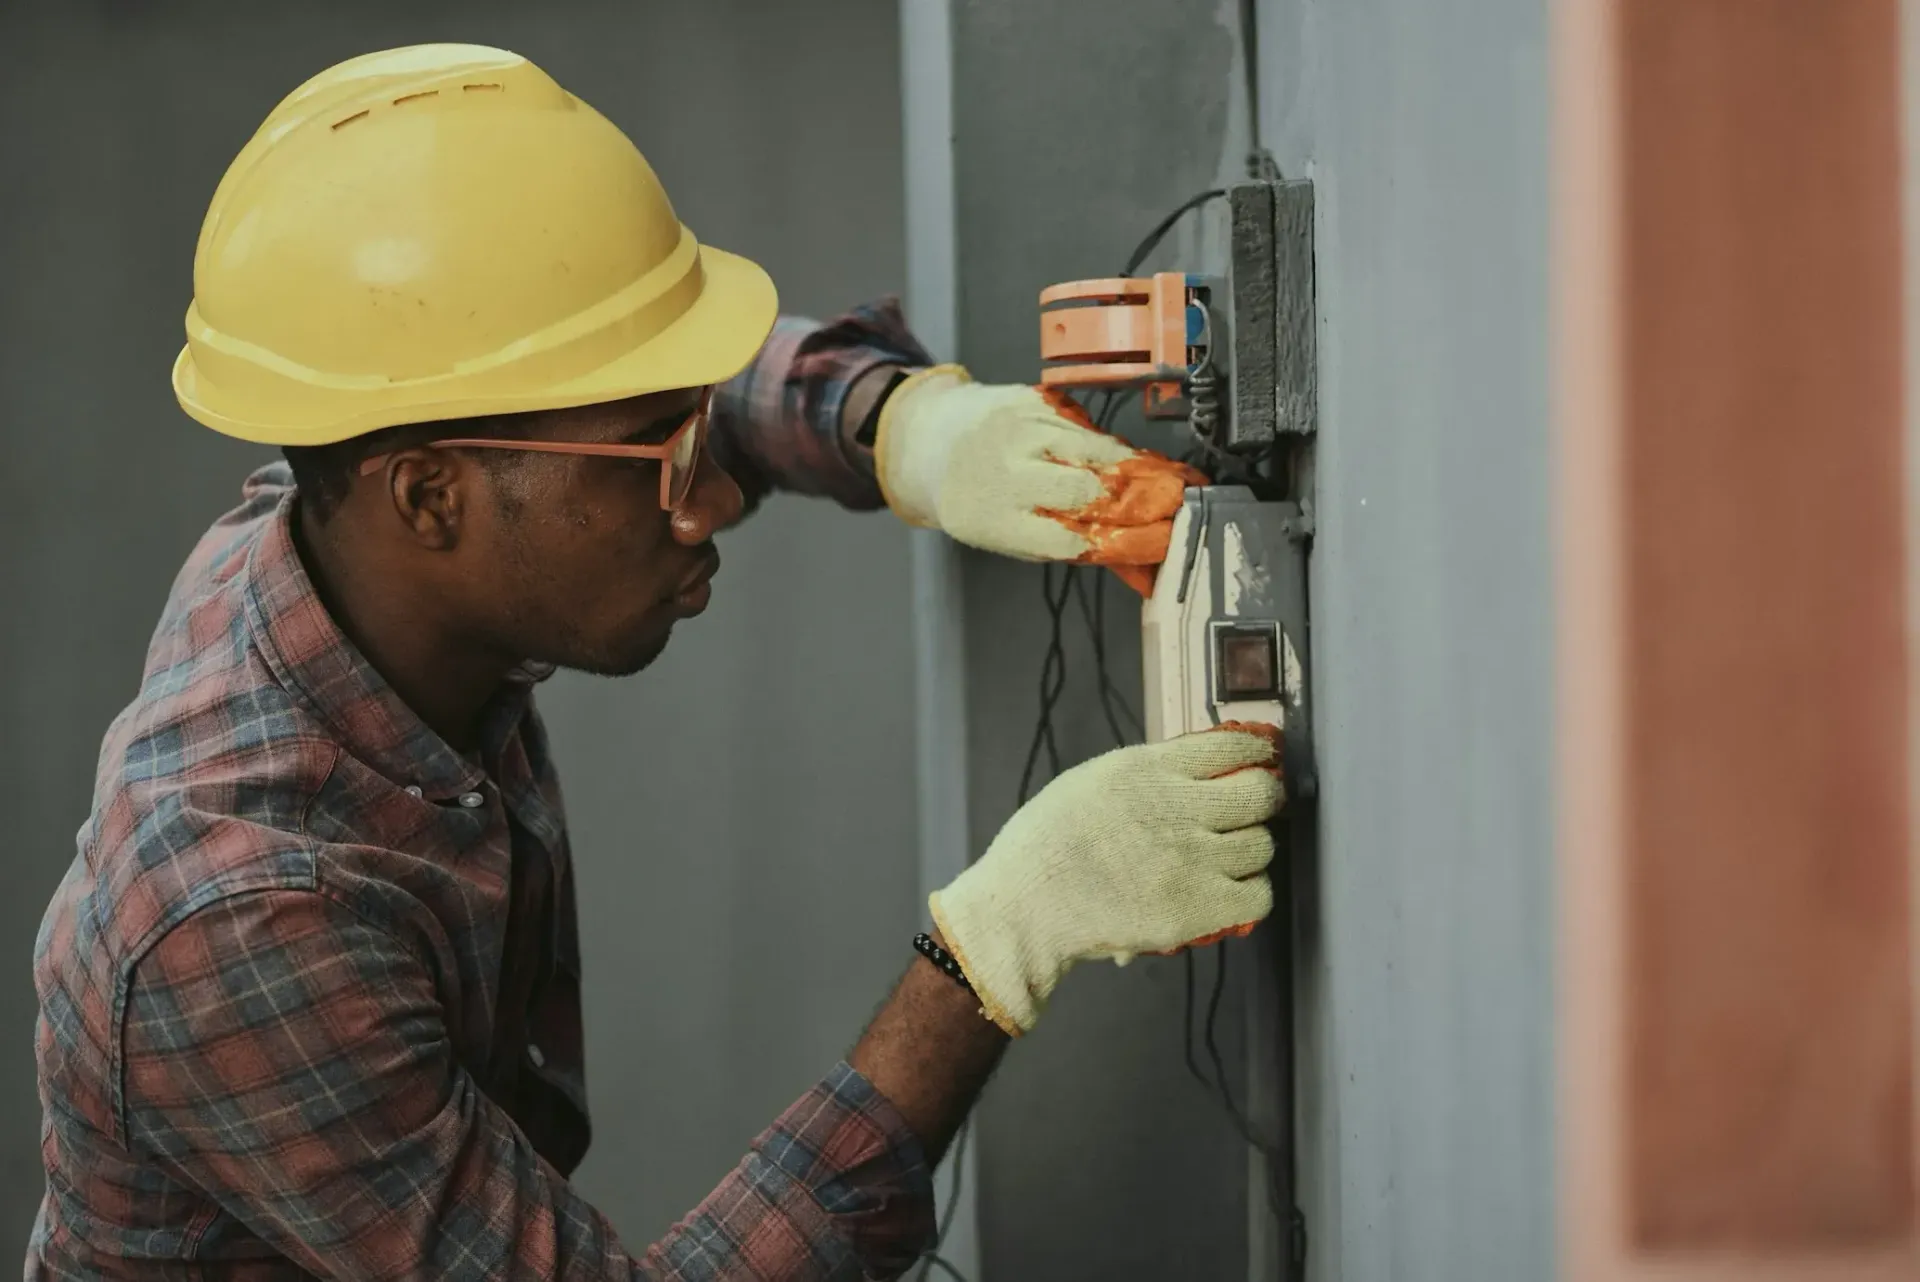
Once the power is off and you’ve got your tools ready, it’s time to remove the old switch. Follow these steps:
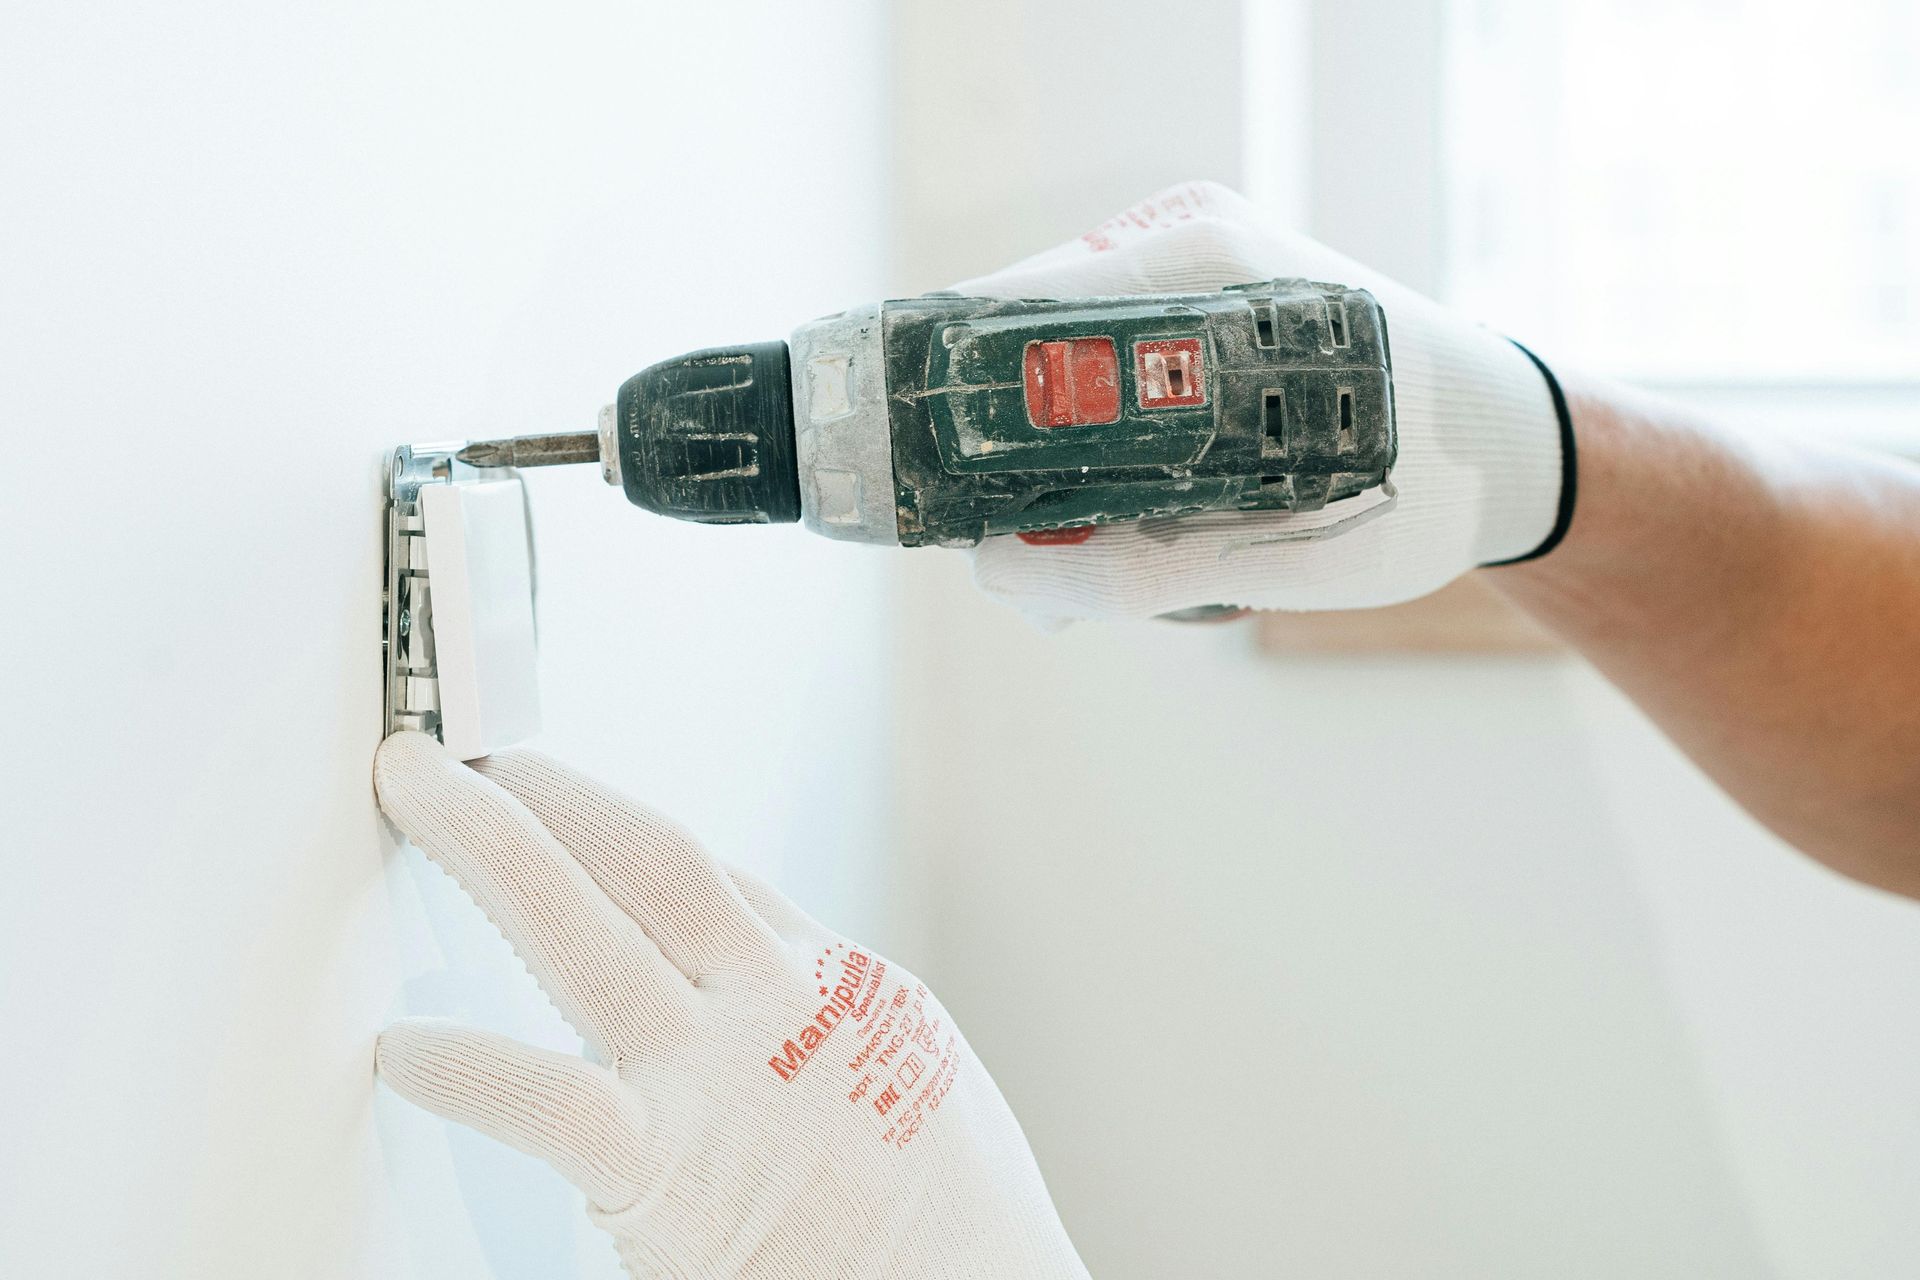
- Remove the Switch Plate: Use a flathead screwdriver to unscrew the switch plate and set it aside.
- Unscrew the Old Switch: Take out the screws holding the switch to the electrical box. Gently pull the switch out without touching the wires.
- Check the Wiring: Before disconnecting anything, take note of where each wire is connected. You might even want to snap a picture for reference.
- Disconnect the Wires: Use your screwdriver to loosen the screws holding the wires, then pull the wires off the switch.
Now you’re ready to wire the new switch.
How to Wire a Light Switch?
Wiring a light switch is all about knowing where the wires go and making sure everything is secure. Here’s a simple breakdown of how to wire a standard single-pole switch.
Understanding the Circuit and Electrical Wiring
Before wiring your new switch, it’s important to understand the basic wiring setup. Typically, you'll be dealing with three main wires:
- Hot Wire (usually black) – This carries the electrical current from the power source.
- Neutral Wire (usually white) – This completes the electrical circuit.
- Ground Wire (usually green or bare copper) – This is for safety, preventing electrical shocks.
In most cases, you’ll be replacing a single-pole switch, which controls one light or fixture from one location. If you're working with a 3-way switch, it's a bit more complex, but we’ll cover that on our next blog. For now, let's focus on getting the wiring right for a standard switch.
Connecting the Neutral Wire and Hot Wire
Now that you understand the wiring, let’s connect the wires to your new switch:
Neutral Wire
In most cases, the neutral wire (white) isn’t directly connected to the switch but should be tucked neatly into the electrical box. Some newer switches may need a neutral connection, so double-check your switch’s instructions.
Hot Wire
Take the hot (black) wire and connect it to the brass or black screw on the switch. Use your screwdriver to tighten the screw securely. If there’s a second black wire, that’s your load wire, and it should go to the other brass screw.
Ground Wire
Finally, connect the ground wire (green or bare copper) to the green screw on the switch. Make sure it’s tightly secured.
At this point, the main wiring is complete.
Securing the Wires in Place with a Connector
Once the wires are connected to the new switch, it’s important to make sure everything is secure:
- Use Wire Connectors (Wire Nuts): For any loose wire ends, use wire connectors to twist and cap them together. This helps keep the wires tightly connected and prevents them from touching other wires or the box.
- Double-Check Connections: Gently tug on each wire to make sure it’s firmly attached to the screws. You don’t want anything coming loose.
- Position the Wires: Carefully push the wires back into the electrical box. Make sure they’re not pinched or overly bent. The wires should sit comfortably behind the switch.
Now you’re ready to screw the switch into the box and reattach the faceplate.
What Are the Different Types of Light Switches?
When replacing or wiring a light switch, it's helpful to know the different types available. The right switch can enhance both function and style. Here's a quick look at some common options:
Exploring Single-Pole Light Switch vs. Dimmer Switches
Single-Pole Light Switch
This is the most basic and common type of switch. It controls one light or fixture from a single location. It’s straightforward, with an “on” and “off” position, making it easy to use.
Dimmer Switch
A dimmer switch lets you adjust the brightness of the light instead of just turning it on or off. This type is great for areas where you want control over the lighting ambiance, like living rooms or dining areas.
Both options serve different purposes, so choose based on the level of control you want over your lighting.
Advantages of Smart Switches
Smart switches bring modern convenience to your home. Here are some key benefits:
- Remote Control: You can control your lights from anywhere using a smartphone app, even when you're not home.
- Voice Commands: Many smart switches work with voice assistants like Alexa or Google Home, allowing hands-free control.
- Energy Efficiency:
Smart switches let you monitor your energy usage, helping to reduce electricity costs by scheduling lights to turn off when not needed.
- Customization: You can create lighting schedules or automate different lighting scenarios for various moods or activities.
Smart switches offer a tech-savvy option for those looking to upgrade their lighting system.
How to Troubleshoot Common Switch Wiring Issues?
Even with careful installation, problems can still occur. Knowing how to troubleshoot common light switch issues can save time and frustration. Here’s a breakdown of what to do when things don’t go as planned.
What to Do If the Light Fixture Does Not Turn On?
If your light fixture doesn’t turn on after wiring the switch, here are a few troubleshooting steps:
- Check the Breaker: Make sure the breaker hasn’t tripped. Sometimes, during installation, the breaker may flip off to prevent overload.
- Double-Check Wire Connections: Ensure all wires are securely connected to the correct terminals. Loose or incorrectly placed wires can prevent the switch from working.
- Test the Bulb: It may seem obvious, but make sure the bulb itself isn’t burned out. Try replacing it with a new one.
- Use a Voltage Tester: If none of the above works, use a voltage tester to confirm that power is flowing to the switch.
If the problem persists, it might be time to replace the switch or check for deeper electrical issues.
How to Fix a Switch That Controls the Fixture Incorrectly?
If your switch isn’t controlling the fixture as expected, try these troubleshooting steps:
- Check the Wire Placement: Make sure the wires are connected to the correct terminals. For a standard single-pole switch, the hot wire should go to the brass screw, and the ground wire to the green screw.
- Test for Crossed Wires: If the switch is controlling another light or the wrong fixture, there may be crossed wires. Turn off the power and double-check that the wires match the intended fixture.
- Inspect for Loose Connections: Loose wires can cause the switch to work unpredictably. Secure all connections, especially if the switch works intermittently.
If none of these fixes resolve the issue, you may need professional help to diagnose a more complex wiring problem.
When to Call an Electrician?
If troubleshooting doesn’t solve the problem or if you're uncomfortable handling the wiring, it’s time to call a professional. Here are a few situations where it’s best to bring in an electrician:
- Complex Wiring Issues: If the wiring is outdated, confusing, or part of a larger system like a 3-way switch, a licensed electrician will ensure the job is done safely and correctly.
- Persistent Problems: If your switch still isn’t working after multiple attempts to fix it, there could be a bigger issue, like a faulty circuit or breaker.
- Signs of Electrical Damage: If you notice sparking, buzzing sounds, or flickering lights, these are signs of a potentially dangerous electrical issue.
An electrician can help avoid mistakes and ensure your wiring is safe and up to code.
Can You Install a Switch on a New Circuit?
Yes, you can install a switch on a new circuit, but it requires careful planning and understanding of your home’s electrical system. Installing a new switch involves creating a new connection to your circuit breaker, ensuring that your wiring can handle the load, and positioning the switch in a suitable location. If you're not experienced with electrical work, this can be a complex job best left to an electrician.
How to Plan the Electrical Diagram?
Before installing a new switch on a circuit, planning an electrical diagram is crucial. Here’s how to do it:
- Identify the Circuit Path: Determine where the power source will come from (usually the breaker box) and map out how the wiring will travel to the new switch and light fixture.
- Mark the Connection Points: Indicate where the switch, fixture, and power source will connect. Ensure you know which wires will be hot, neutral, and ground.
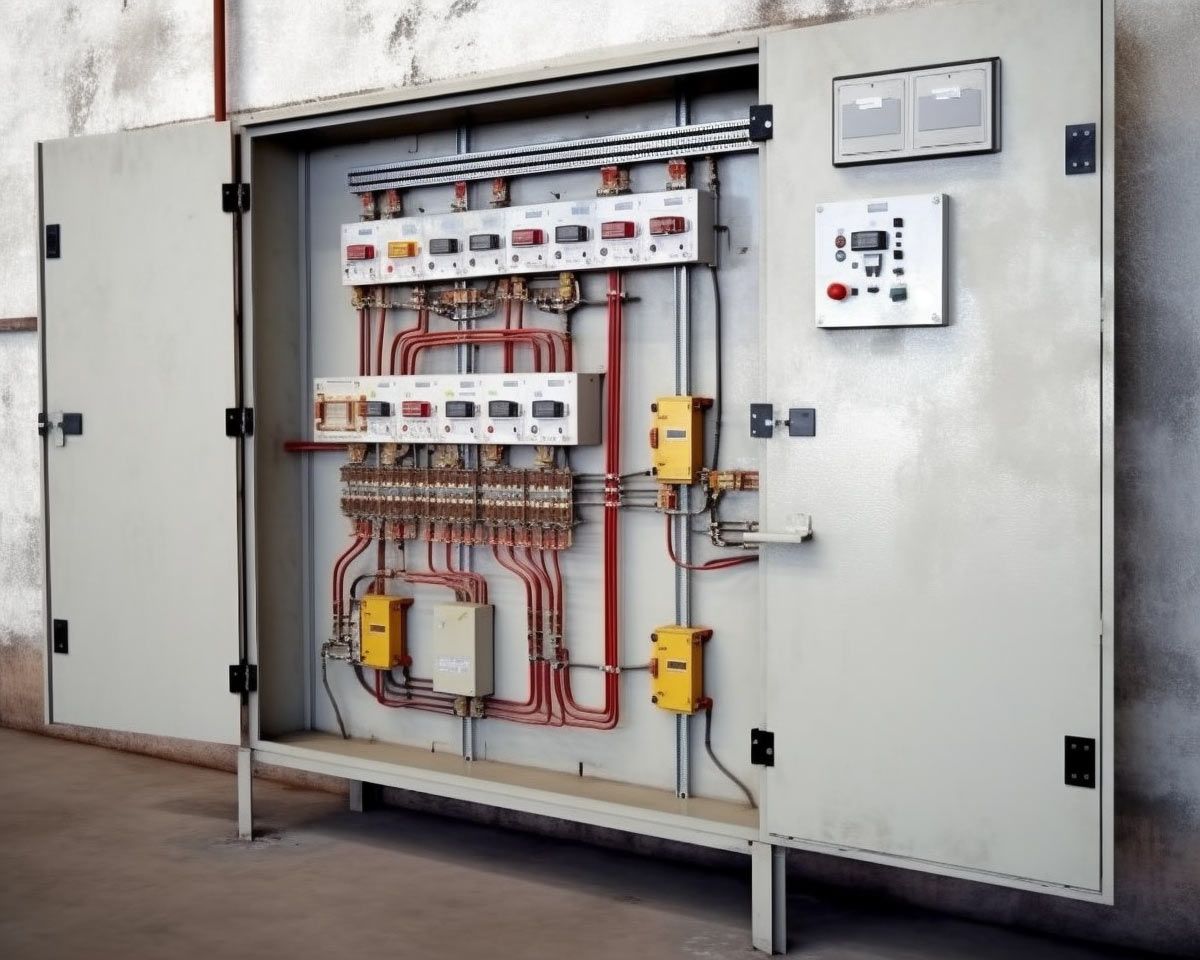
- Check for Available Space in the Breaker Box: Make sure your breaker box has space for an additional circuit. If not, you may need to upgrade or rearrange existing circuits.
- Estimate Load Capacity: Ensure the new circuit won’t overload your current electrical system. Consider the total wattage of all devices on the circuit.
Careful planning ensures that your new switch will be safe and functional.
Steps to Install a Switch in a New Electrical Box
Once your electrical diagram is planned, here’s how to install the switch in a new electrical box:
- Cut a Hole for the Electrical Box: Use a drywall saw to cut a hole in the wall where the switch will be installed. Make sure the box is securely attached to a stud or use a retrofit box if necessary.
- Run the Electrical Cable: Pull the necessary electrical cables (Romex or similar) from the power source to the new box. Make sure the cables are rated for the load and distance.
- Install the Box: Place the electrical box in the hole and secure it. If you're using a retrofit box, it should clamp itself to the drywall.
- Wire the Switch: Connect the hot wire to the brass screw, the neutral wire (if required by your switch) to the silver screw, and the ground wire to the green screw. Make sure all connections are tight and secure.
- Attach the Switch to the Box: Once the wires are connected, carefully push the switch into the box and secure it with screws.
- Add the Cover Plate: Screw on the cover plate to finish the installation.
With everything in place, you’re ready to connect the switch to the power source and test it.
Ensuring Proper Voltage and Power Supply
Before turning the power back on, double-check everything:
- Verify All Connections: Make sure every wire is securely connected to its proper terminal (hot to brass, ground to green, etc.). Loose connections can cause issues later.
- Test Voltage: Use a voltage tester to ensure the circuit is properly connected before powering it up. This ensures there are no shorts or crossed wires.
- Turn on the Breaker: Go back to your breaker box and flip the breaker back on. Check for any tripped breakers or signs of electrical issues.
- Test the Switch: Flip the switch on and off to make sure the fixture responds correctly. If everything works as expected, the installation is complete.
Ensuring the voltage is correct and all connections are secure will prevent electrical problems down the line.
Conclusion
Wiring and replacing a light switch may seem like a challenging task, but with the right tools, safety measures, and step-by-step guidance, you can handle it yourself. From turning off the power to securing wires in place, following these instructions ensures you get the job done safely and efficiently. However, if you run into any complications or prefer leaving it to the pros, don’t hesitate to call in an electrician.
If you’re looking for reliable and professional electrical services, Bar H Bar offers top-quality assistance across multiple locations, including Lehi, American Fork, Pleasant Grove, Sandy, Draper, St. George, Hurricane, Cedar City, and Washington. Whether you need electrical repairs, electric car chargers, electrical panels, interior lighting, outlets and switches, spa hookups, or wiring and rewiring, their team is ready to help.
Call Bar H Bar today for expert service that gets it done right!
FAQs
How do I safely disconnect power before changing a light switch?
To safely disconnect power before changing a light switch, turn off the circuit breaker that controls the switch you’re working on. Verify the power is off by using a voltage tester on the light switch wiring.
What tools do I need to change and wire a light switch?
You will need a flathead and Phillips screwdriver, wire strippers, a voltage tester, and possibly a label for wires. A new switch is also required if you're replacing the old one.
How can I identify the live wire that supplies the input to the switch?
The live wire that supplies the input to the switch is usually a black wire. Use a voltage tester to ensure it’s not live before proceeding. This wire is typically connected to the terminal on the side of the switch.
What is the purpose of the green grounding screw on a light switch?
The green grounding screw is used to connect the ground wire, which is typically a bare copper or green wire. This provides a path to ground, enhancing safety by preventing electrical shocks.
How do I wire a dim light switch correctly?
To wire a dim light switch, first disconnect the power. Remove the old switch and note the wiring. Connect the wires to the new dim switch according to the manufacturer's instructions, usually involving connecting the black wires to the terminals and the ground wire to the green grounding screw. Gently tuck the wires back into the switch box before securing the switch.
Can a single-pole switch control lights from two locations?
No, a single-pole switch cannot control lights from two locations. You would need a three-way switch setup to control a light fixture from two different locations.
How do I handle two switches that control one light fixture?
If you have two switches controlling one light fixture, you likely have a three-way switch setup. Ensure the wiring is properly configured between the two switches and connect according to the circuit diagram specific to your switches.
What should I do if I suspect the switch was wired incorrectly?
If you suspect the switch was wired incorrectly, turn off the power at the electrical panel. Carefully inspect the wiring against a standard wiring diagram. If unsure, it may be best to consult with a licensed electrician to prevent potential hazards.
How do I install a new switch to replace a broken one?
To replace a broken switch, first turn off the circuit breaker. Remove the old switch by unscrewing it from the switch box. Disconnect the wires, noting their positions. Install the new switch by connecting the wires to the appropriate terminals, ensuring the black wires connect to the terminals and the ground wire to the green grounding screw. Secure the new switch in place and restore power.

