How to Wire a 3-Way Light Switch
A 3-way light switch makes life easier by letting you control a single light from two different spots. Think about how useful that is in hallways, staircases, or large rooms. It might seem tricky to wire at first, but with the right tools and instructions, you can handle it.
This guide breaks it all down into simple steps. We’ll walk you through the tools you’ll need, safety tips, and troubleshooting advice. Whether you’re a hands-on homeowner or just want to learn something new, you’re in the right place.
What Is a 3-Way Light Switch?
A 3-way light switch lets you control a single light fixture from two separate locations. It’s a common choice for areas where convenience and accessibility are key, like staircases, long hallways, or large living spaces.
Unlike a standard single-pole switch, which only has an on and off position, a 3-way switch uses a unique wiring system that allows two switches to work together.
How Does a 3-Way Switch Work?
Here’s the simple breakdown:
- Three Wires Do the Job: A 3-way switch setup uses three wires—hot, traveler, and common. These wires connect the two switches and the light fixture.
- Control from Two Places: Both switches share control over the light. Flip either one to turn the light on or off.
- Traveler Wires Are Key: The traveler wires run between the two switches, making it possible to control the light from either location.
This functionality adds convenience to your daily life, especially in spaces where you frequently enter and exit from different points.
Tools and Materials You’ll Need
Before you start wiring a 3-way light switch, gather the right tools and materials. Having everything ready will make the process smoother and safer.
Tools
- Screwdriver: A flathead and Phillips screwdriver for removing and securing switch plates and screws.
- Wire Stripper: To strip the insulation off the wires for clean connections.
- Voltage Tester: Essential for confirming the power is off before you begin working.
- Needle-Nose Pliers: Handy for twisting wires and securing connections.
- Tape Measure (Optional): Useful for measuring wire lengths if adjustments are needed.
Materials
- Two 3-Way Switches: These are different from standard single-pole switches, so make sure you have the right ones.
- Electrical Wires: You’ll need a 3-wire cable (black, red, and white wires) plus a ground wire.
- Wire Nuts: To safely cap and secure wire connections.
- Switch Plates: To cover the switches once installed.
Optional Additions
- Electrical Tape: For marking wires or reinforcing connections.
- Labeling Stickers: If you’re working in a larger setup, labels can help you keep track of which wires go where.
With these tools and materials on hand, you’re set up for success.
Safety Precautions
Before you begin wiring a 3-way light switch, prioritize safety. Electrical work can be dangerous if proper precautions aren’t taken, so follow these steps to protect yourself and your home.
Turn Off the Power
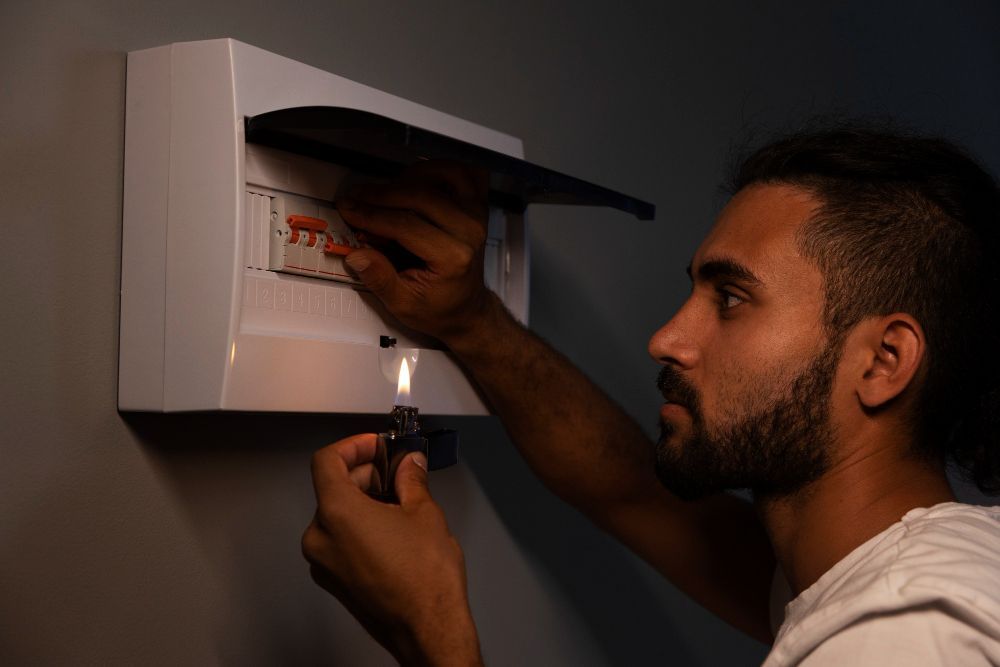
- Go to your circuit breaker panel and switch off the power to the area where you’ll be working.
- Use a
voltage tester to confirm the power is completely off. Test the wires at the switch box to ensure no electricity is running through them.
Wear Protective Gear
- Use
insulated gloves to protect your hands.
- If you're working in tight or dimly lit spaces, wear safety glasses and use a headlamp for clear visibility.
Work in a Dry Environment
- Never work on electrical wiring if the area is damp or wet. Make sure your workspace is completely dry to reduce the risk of shock.
Handle Wires Carefully
- Always assume wires are live until you’ve tested them.
- Avoid damaging the insulation when stripping wires to maintain safety and proper function.
Know When to Call a Professional
- If you’re unsure about any part of the process or encounter unexpected wiring, stop and consult a licensed electrician.
Safety is your top priority. Taking these precautions ensures that your project goes smoothly without unnecessary risks.
Identifying Wires and Terminals
To successfully wire a 3-way light switch, you first need to identify the wires and understand the terminals on the switches. This step is crucial for making the correct connections.
Common Wire Types and Their Functions
- Black (Hot Wire): Carries power from the source to the switches.
- White (Neutral Wire): Completes the circuit back to the electrical panel.
- Red (Traveler Wire): Runs between the two switches and allows them to work together.
- Bare Copper or Green (Ground Wire): Provides a safety path to ground in case of a fault.
Terminals on a 3-Way Switch
- Common Terminal: This screw is usually darker than the others. It’s where you connect the black (hot) wire.
- Traveler Terminals: These two brass screws are for the traveler wires (typically red and black). They allow communication between the two switches.
- Ground Terminal: A green screw for connecting the ground wire.
Tips for Identifying Wires
- Examine Existing Wiring: If replacing an old switch, take a picture of the existing connections before removing any wires.
- Use a Voltage Tester: Identify which wire is carrying power by testing it before turning off the circuit.
- Label Wires as Needed: If you’re unsure about which wire is which, label them with tape to avoid confusion later.
Knowing your wires and terminals is half the battle. Get this part right, and the rest of the process becomes much easier.
Step-by-Step Wiring Instructions
Now that you’ve identified the wires and terminals, it’s time to wire your 3-way light switch. Follow these steps carefully to ensure a safe and functional setup.
Step 1: Turn Off the Power
- Head to your circuit breaker and turn off the power to the switches you’ll be working on.
- Use a
voltage tester to double-check that the power is off at the switch box.
Step 2: Remove the Existing Switches
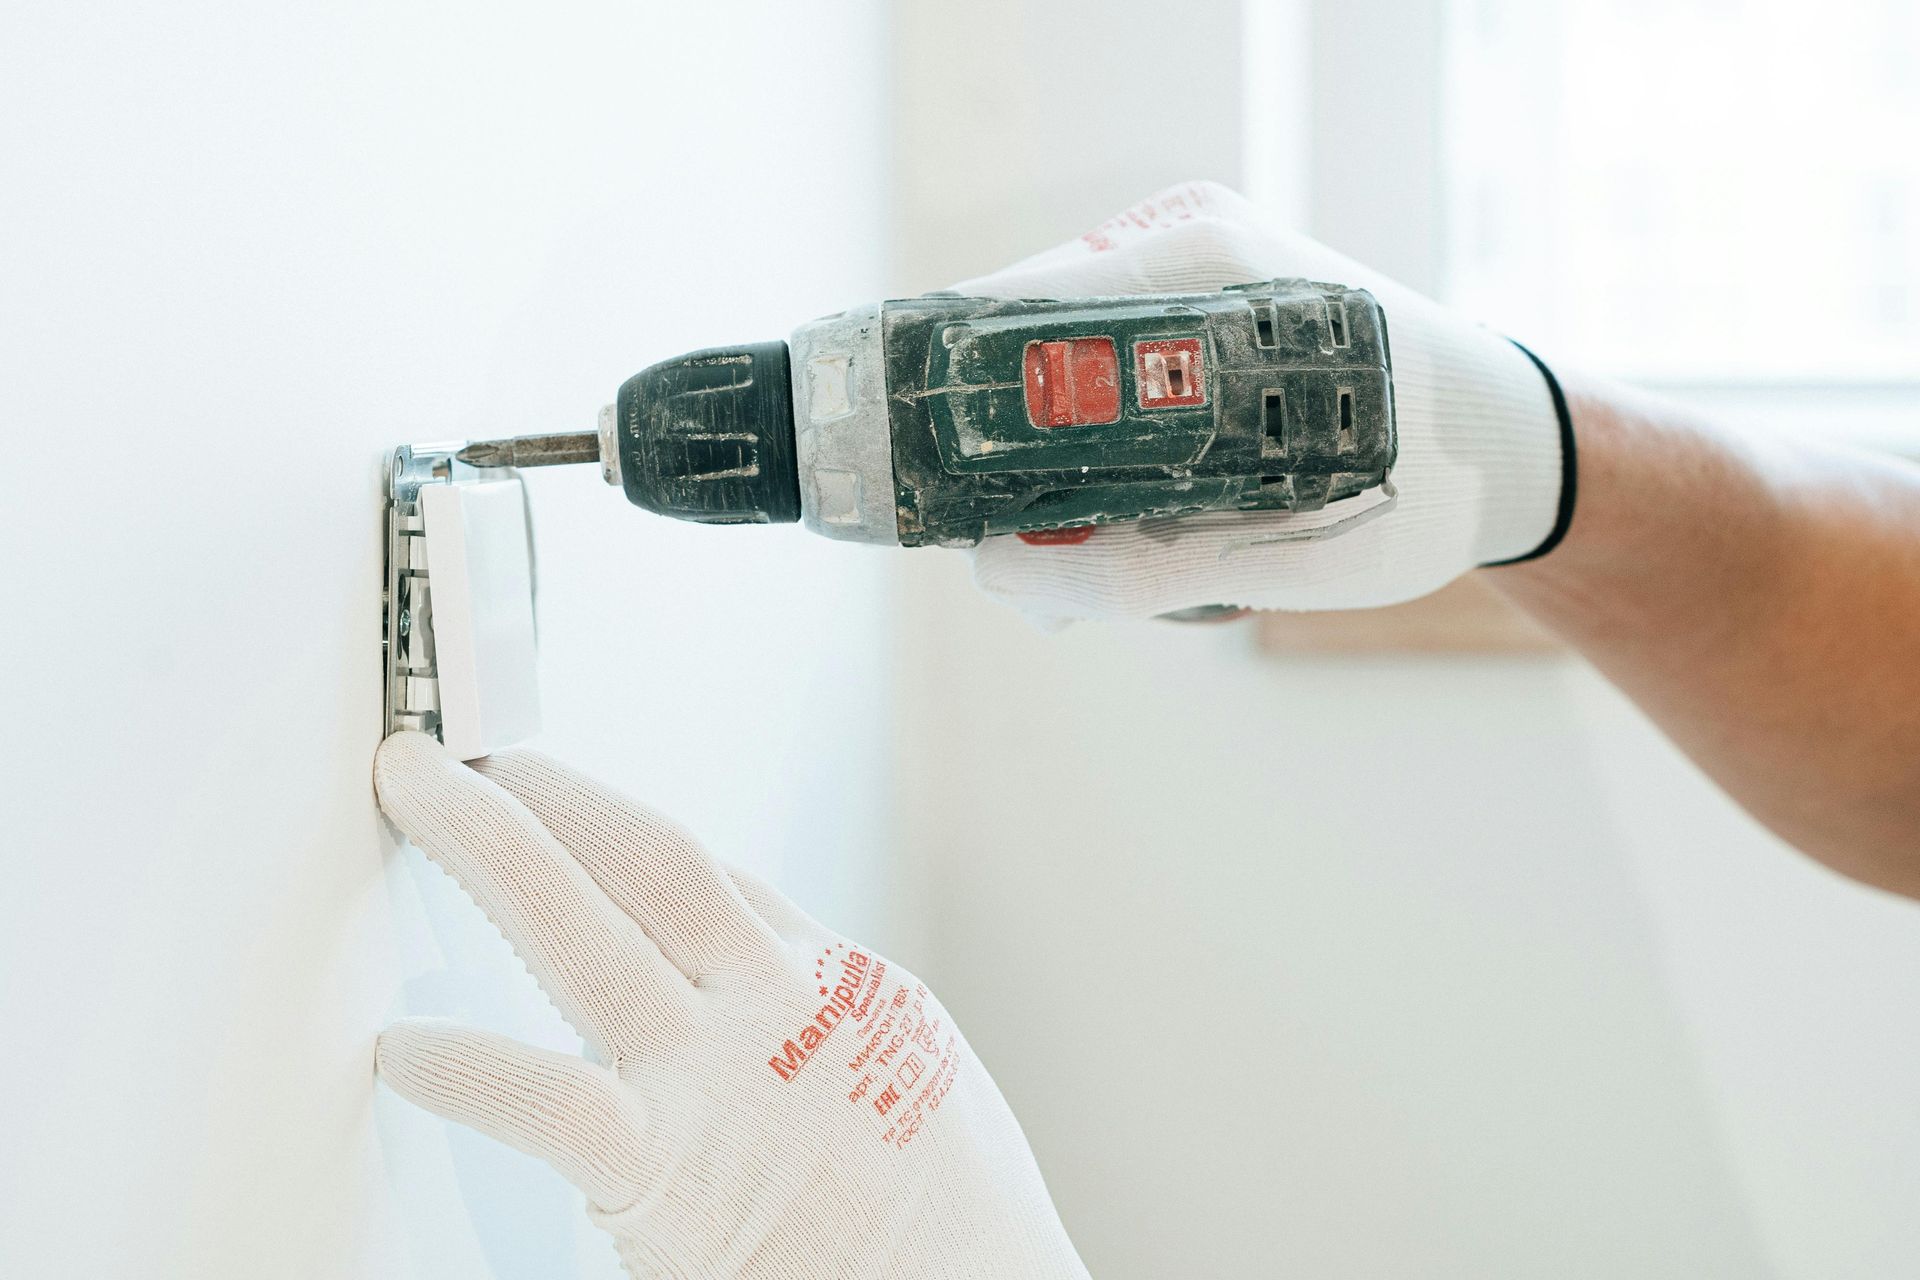
- Unscrew the cover plates and the existing switches from the electrical boxes.
- Gently pull the switches out, keeping the wires intact for reference.
- Take note of how the wires are connected, or take a photo for later use.
Step 3: Connect the Ground Wires
- Attach the bare copper or green ground wire to the green terminal screw on each new 3-way switch.
- If there’s no ground wire in the box, connect the switch’s ground terminal to the metal box using a grounding clip or screw.
Step 4: Connect the Common Wires
- On the first switch, connect the black (hot) wire to the
common terminal (the dark screw).
- Repeat this step for the second switch, ensuring the common terminal on each switch is connected to its respective black wire.
Step 5: Connect the Traveler Wires
- On the first switch, attach the red and black traveler wires to the two brass screws (traveler terminals).
- Do the same for the second switch, ensuring the traveler wires are connected to the corresponding terminals.
Step 6: Secure the Switches
- Gently push the wired switches back into their electrical boxes.
- Secure them in place with screws and attach the cover plates.
Step 7: Restore Power and Test
- Return to the circuit breaker and turn the power back on.
- Test the switches by flipping each one to ensure the light turns on and off correctly from both locations.
By following these steps, you’ll have a properly wired 3-way light switch setup that’s both functional and safe.
Common Mistakes to Avoid
Wiring a 3-way light switch can be straightforward if you follow the steps carefully, but mistakes happen. Avoid these common pitfalls to save yourself time and frustration.
Misidentifying the Common Wire
The most frequent mistake is confusing the common wire with one of the traveler wires. The common wire connects to the dark screw and plays a key role in the circuit. Double-check the wire’s position before proceeding, and use a voltage tester if needed.
Loose Connections
Loose wire connections can cause the switch to malfunction or even lead to electrical hazards. Always tighten the screws securely and ensure no bare wire is exposed outside the terminals.
Forgetting to Ground the Switch
The ground wire provides an important safety feature. Skipping this step can increase the risk of electrical shock or fire. Make sure the ground wire is properly connected to the green terminal or the metal box.
Incorrect Traveler Wire Placement
Traveler wires must be connected to the brass screws on both switches. Mixing them up won’t damage your setup but will cause the switches to behave unpredictably.
Not Testing the Circuit
Always test the circuit before securing everything into place. Flip both switches in various combinations to ensure the light operates correctly. It’s easier to fix errors before you screw the switches into the electrical boxes.
Avoiding these common mistakes will make your 3-way switch installation smoother and ensure your wiring is safe and functional.
Troubleshooting Tips
Even with careful planning, issues can arise when wiring a 3-way light switch. Here are some troubleshooting tips to help you diagnose and fix common problems.
The Light Doesn’t Turn On
- Check the Circuit Breaker: Ensure the breaker controlling the circuit hasn’t tripped. Reset it if necessary.
- Inspect the Connections: Open the switch boxes and verify that all wires are securely connected to the correct terminals.
- Test the Bulb: Replace the light bulb to rule out a simple issue like a blown bulb.
One Switch Works, but the Other Doesn’t
- Verify Traveler Connections: Check that the traveler wires are properly connected to the brass terminals on both switches.
- Look for Loose Wires: A loose or disconnected wire can cause one switch to stop functioning. Tighten or reconnect as needed.
Light Flickers or Turns On/Off Randomly
- Inspect Wire Insulation: Make sure the wires aren’t damaged or exposed. Damaged insulation can cause intermittent issues.
- Secure All Connections: Loose connections can lead to flickering. Ensure all wires are firmly attached.
Both Switches Don’t Work at All
- Test for Power: Use a voltage tester to confirm power is reaching the switches. If there’s no power, the issue may be at the breaker or elsewhere in the circuit.
- Consult a Professional: If the problem persists, it may be a deeper wiring issue that requires expert assistance.
When to Call an Electrician
If you’ve followed these troubleshooting steps and the switches still aren’t working correctly, don’t hesitate to call a licensed electrician. They can diagnose and fix the issue quickly and safely.
Troubleshooting is part of the process, but these tips should help you resolve most issues on your own.
Conclusion
Wiring a 3-way light switch doesn’t have to be overwhelming. With the right tools, knowledge of wire functions, and attention to safety, you can handle the project confidently. From identifying wires to troubleshooting issues, each step is a chance to upgrade your skills and make your home more functional.
If electrical work feels outside your comfort zone or you need professional help, trust Bar H Bar Electrical Services. They specialize in electrical repair, wiring, and installations, offering services like electrical panels, spa hookups, and electric car chargers. Serving areas like Lehi, American Fork, Pleasant Grove, Sandy, Draper, St. George, Hurricane, Cedar City, and Washington, their licensed electricians prioritize safety and quality work.
Contact Bar H Bar for reliable service and ensure your electrical needs are handled by experts. Don’t wait—schedule a consultation today!
FAQs
Can I wire a 3-way light switch without professional help?
Yes, with the right tools, instructions, and safety precautions, you can do it yourself. However, if you’re not confident or encounter complex wiring, it’s best to hire a professional.
How do I know if I need a 3-way switch?
If you want to control a single light from two different locations, like at the top and bottom of a staircase or both ends of a hallway, a 3-way switch is the solution.
What’s the difference between a 3-way switch and a single-pole switch?
A single-pole switch controls a light from one location, while a 3-way switch lets you control the same light from two locations.
Can I add a dimmer to a 3-way switch setup?
Yes, you can replace one of the switches with a compatible 3-way dimmer switch. Just ensure it’s designed for 3-way circuits.
Do I need a special wire for a 3-way switch?
Yes, a 3-wire cable (with black, red, and white wires) is required to connect the two switches in a 3-way circuit.
What should I do if my 3-way switch doesn’t work after installation?
Double-check your connections, especially the common and traveler wires. Ensure all connections are secure and that the circuit breaker is on.
Can I control multiple lights with a 3-way switch?
Yes, as long as the lights are wired together on the same circuit.
When should I replace a 3-way switch?
Replace the switch if it feels loose, doesn’t function consistently, or shows signs of damage like sparking or unusual sounds.

